How do I send a purchase order to a supplier?
Last updated: May 18, 2026
Quick answer
Use this article to send a purchase order to a supplier from the purchase order details page.
Common use cases
- Buyer: Send a completed PO to the supplier after reviewing the order details.
- Operations manager: Choose whether the PO should be confirmed immediately or wait for supplier confirmation.
- Warehouse lead: Confirm the PO was sent before planning receiving work.
When to use this
- The purchase order exists and you are ready to send it to the supplier.
- You need to choose between confirming immediately and waiting for supplier confirmation.
- You want to confirm what the page should look like after sending.
When not to use this
- You still need to create or edit the PO.
- The supplier email or contact details are wrong.
- You need to prove that the supplier received or accepted the email.
At a glance
| What you are doing | What you need | Good result | Contact us if |
|---|---|---|---|
| Use this article to send a purchase order to a supplier from the purchase order details page. | Open the correct purchase order. Review the warehouse, supplier, quantity, cost, payment term, expected delivery date, and instructions. | The PO send modal closes, the purchase order page updates, and the next expected actions are visible. If the PO is ready for warehouse receiving, Receive is available. | The send action is unavailable after required fields are filled, the wrong supplier is shown, the PO status does not update as expected, or the supplier did not receive the PO email. |
Before you start
- Open the correct purchase order.
- Review the warehouse, supplier, quantity, cost, payment term, expected delivery date, and instructions.
- Confirm the supplier contact details are correct before sending.
Steps
- Go to Purchase Orders.
- Open Purchase Orders.
- Find the purchase order and select Details.
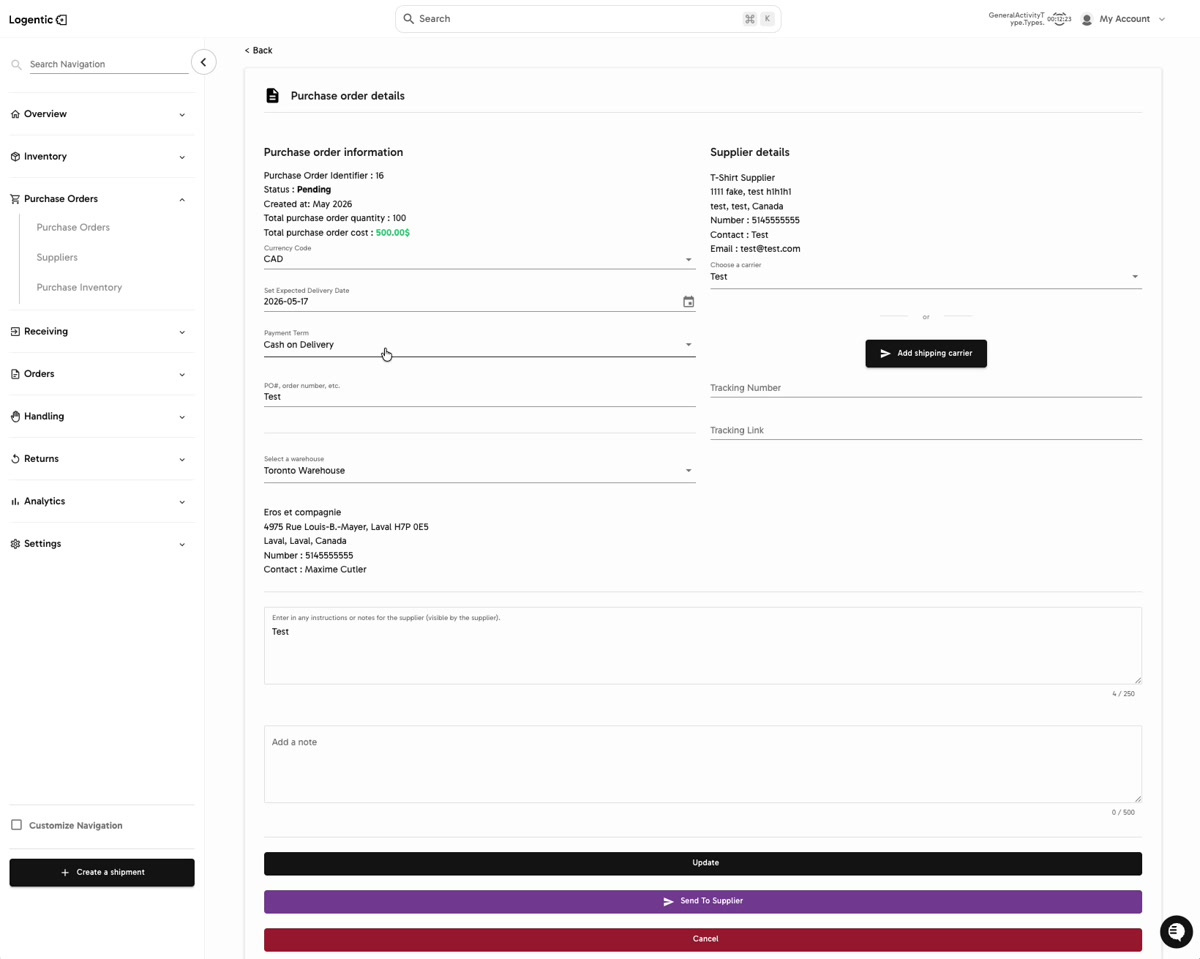
- Review Purchase order information.
- Review Supplier details.
- Add or confirm shipping carrier and tracking details if your workflow requires them.
- Select Update if you changed PO details and need to save them before sending.
- Select Send To Supplier.
- In Send Purchase Order, choose the right send option:
- Send and confirm immediately if you want the PO marked confirmed right away and the supplier email sent for records.
- Send and wait for confirmation if the supplier should receive the email and confirm before the PO is treated as confirmed.
- Select Send Email and confirm PO or Send Email and wait for supplier, depending on the option you chose.
- Use Don't send email yet if you opened the modal but are not ready to send.
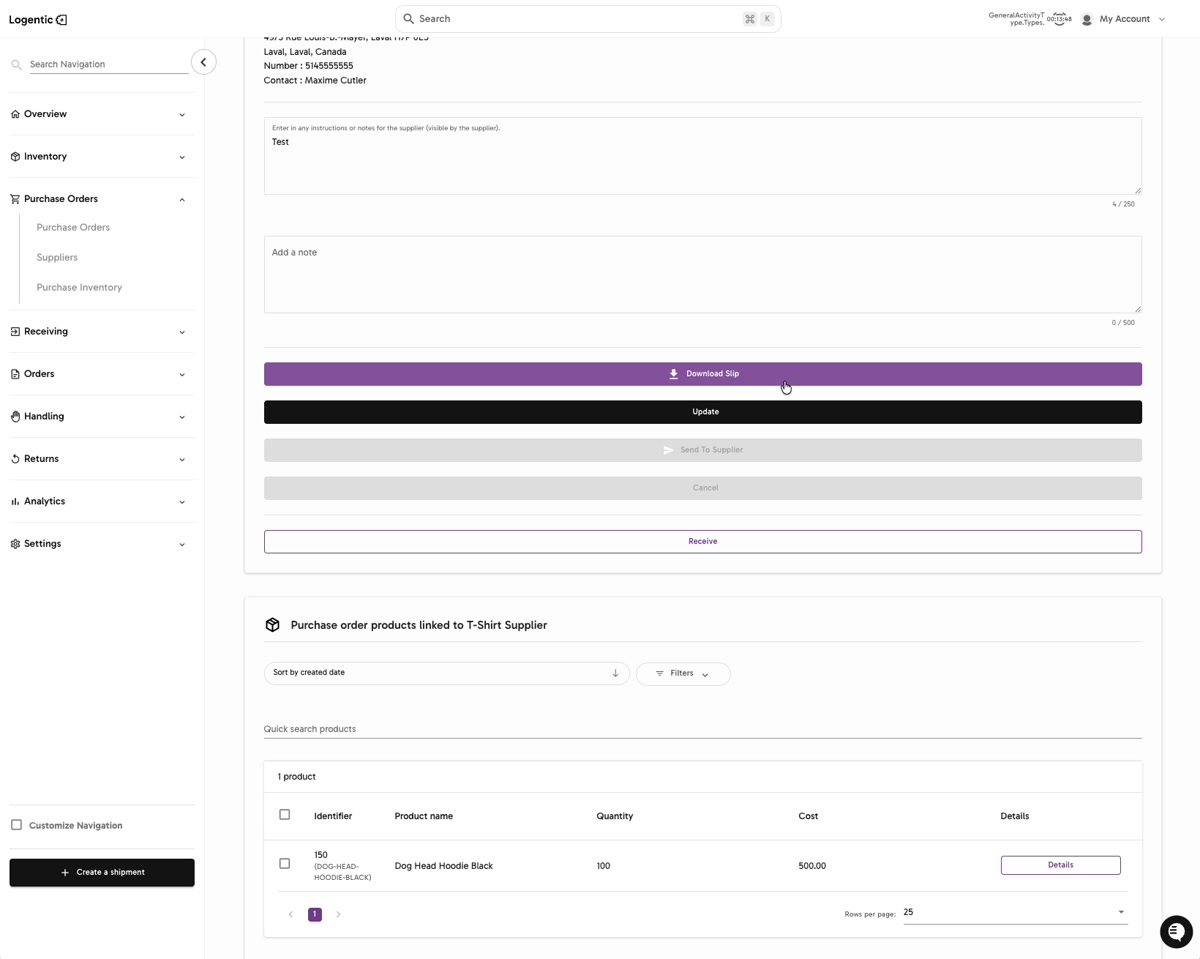
- After sending, confirm that the purchase order page updates. In the recording, Download Slip and Receive are visible after the send step.
Screenshots
Steps 3-8: Review PO information and supplier details before selecting Send To Supplier.
Steps 9-11: Choose whether to confirm immediately, wait for supplier confirmation, or avoid sending yet.
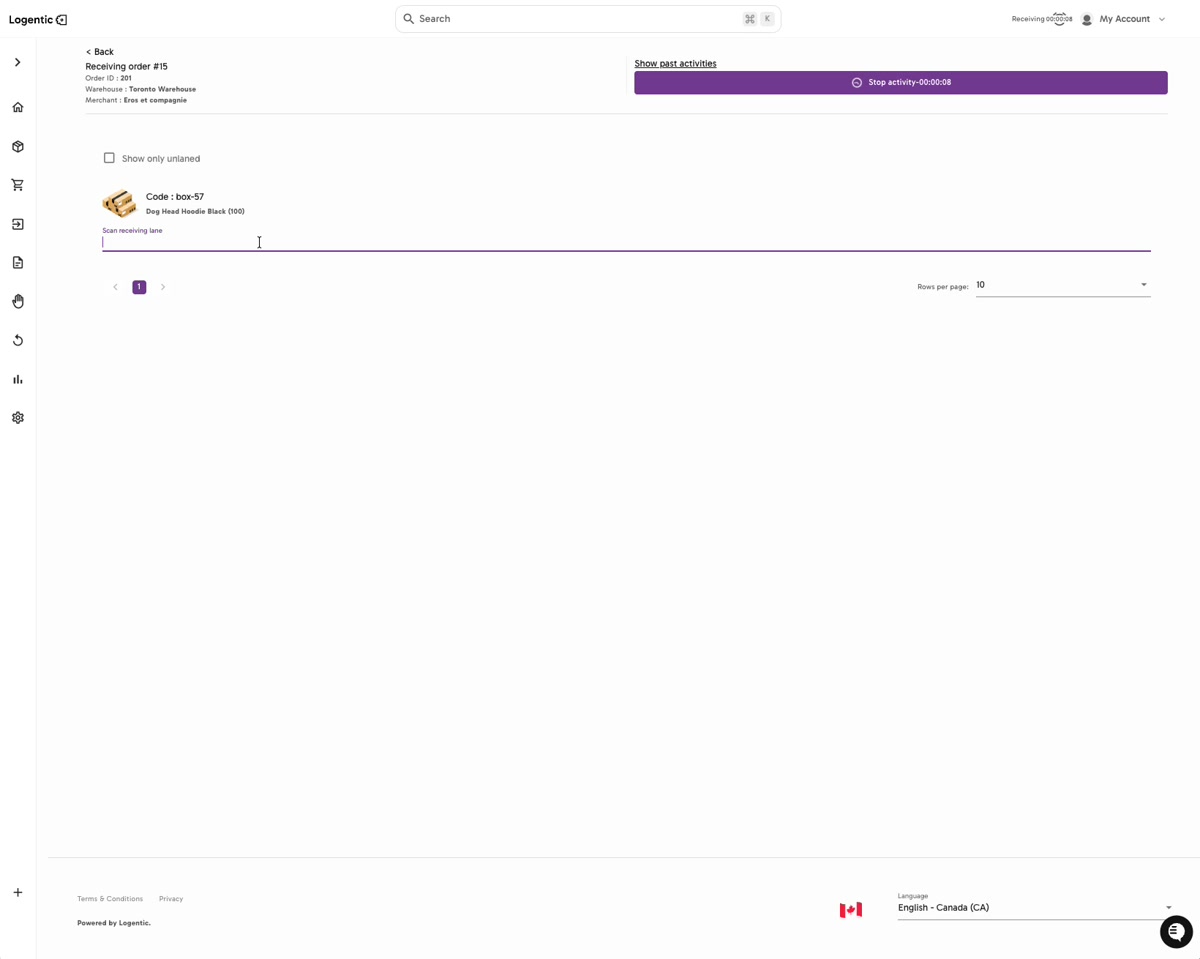
Step 12: After the send step, confirm that the next PO actions, such as Download Slip and Receive, are visible when applicable.
What good looks like
The PO send modal closes, the purchase order page updates, and the next expected actions are visible. If the PO is ready for warehouse receiving, Receive is available.
Common issues and next actions
| If this happens | What to do next |
|---|---|
| Send To Supplier is not available. | Review required PO, supplier, and warehouse fields. If the PO is not ready to send, update the missing information first. |
| The supplier information is wrong. | Do not send the PO until the supplier contact details are corrected. |
| The supplier says they did not receive the email. | Confirm the supplier email address and PO identifier, then contact us so we can investigate the send state. |
Contact us when
The send action is unavailable after required fields are filled, the wrong supplier is shown, the PO status does not update as expected, or the supplier did not receive the PO email.
Contact options
- Email Logentic Support: best for detailed requests, screenshots, or follow-up context.
- Open in-app chat: fastest when you are already signed in and need help in context.
- Call Logentic: call (855) 529-0009 for an urgent launch, warehouse, or fulfillment blocker.
- Request Slack support access: ask us to add your team to a shared Logentic support channel.
Send us this information
- Purchase order identifier.
- Supplier name and supplier email shown in Logentic.
- Warehouse.
- Screenshot of the PO details page.
- Which send option you chose.
- Expected result.
- Actual result shown in Logentic.
- Time and timezone.
Related workflow
- Review purchase inventory or create the purchase order.
- Open PO details and confirm required information.
- Send the PO to the supplier.
- Receive the PO when inventory arrives.